
Microsoft Entra ID Integration
1. Accounts Required:
- LMS+ Learning manager Account
- Entra ID Admin Account
2. LMS+ Configuration
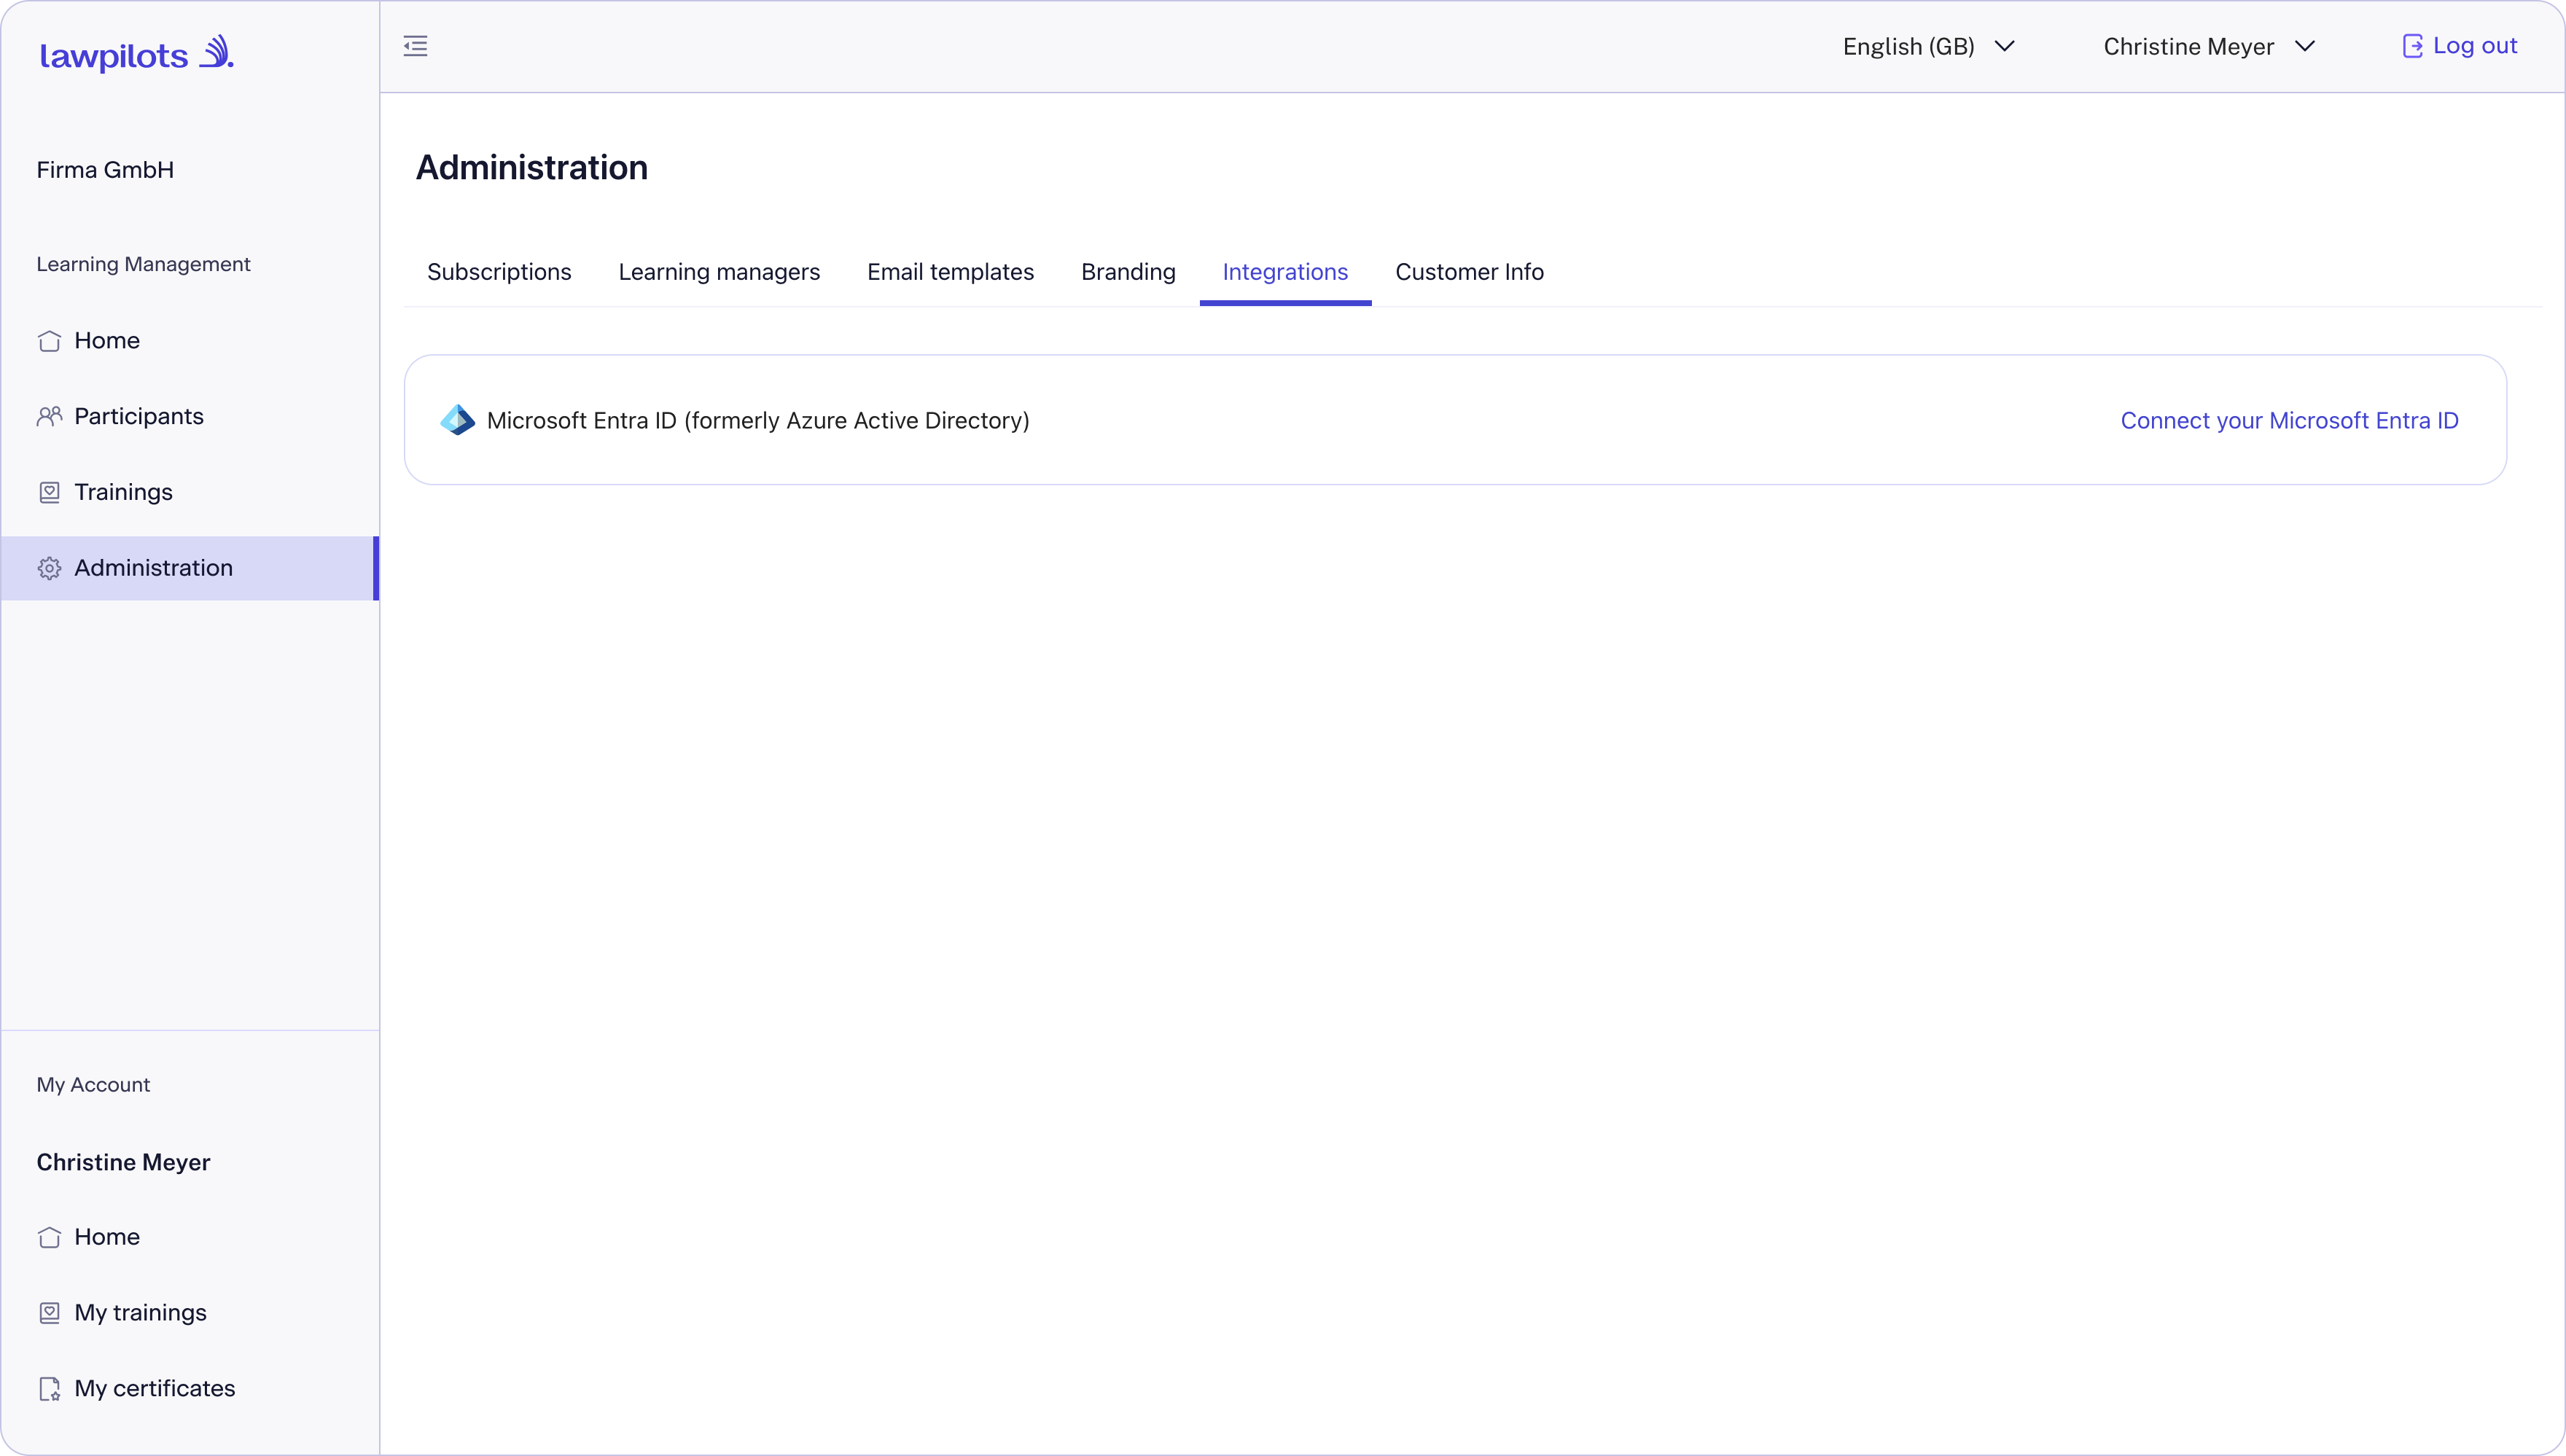
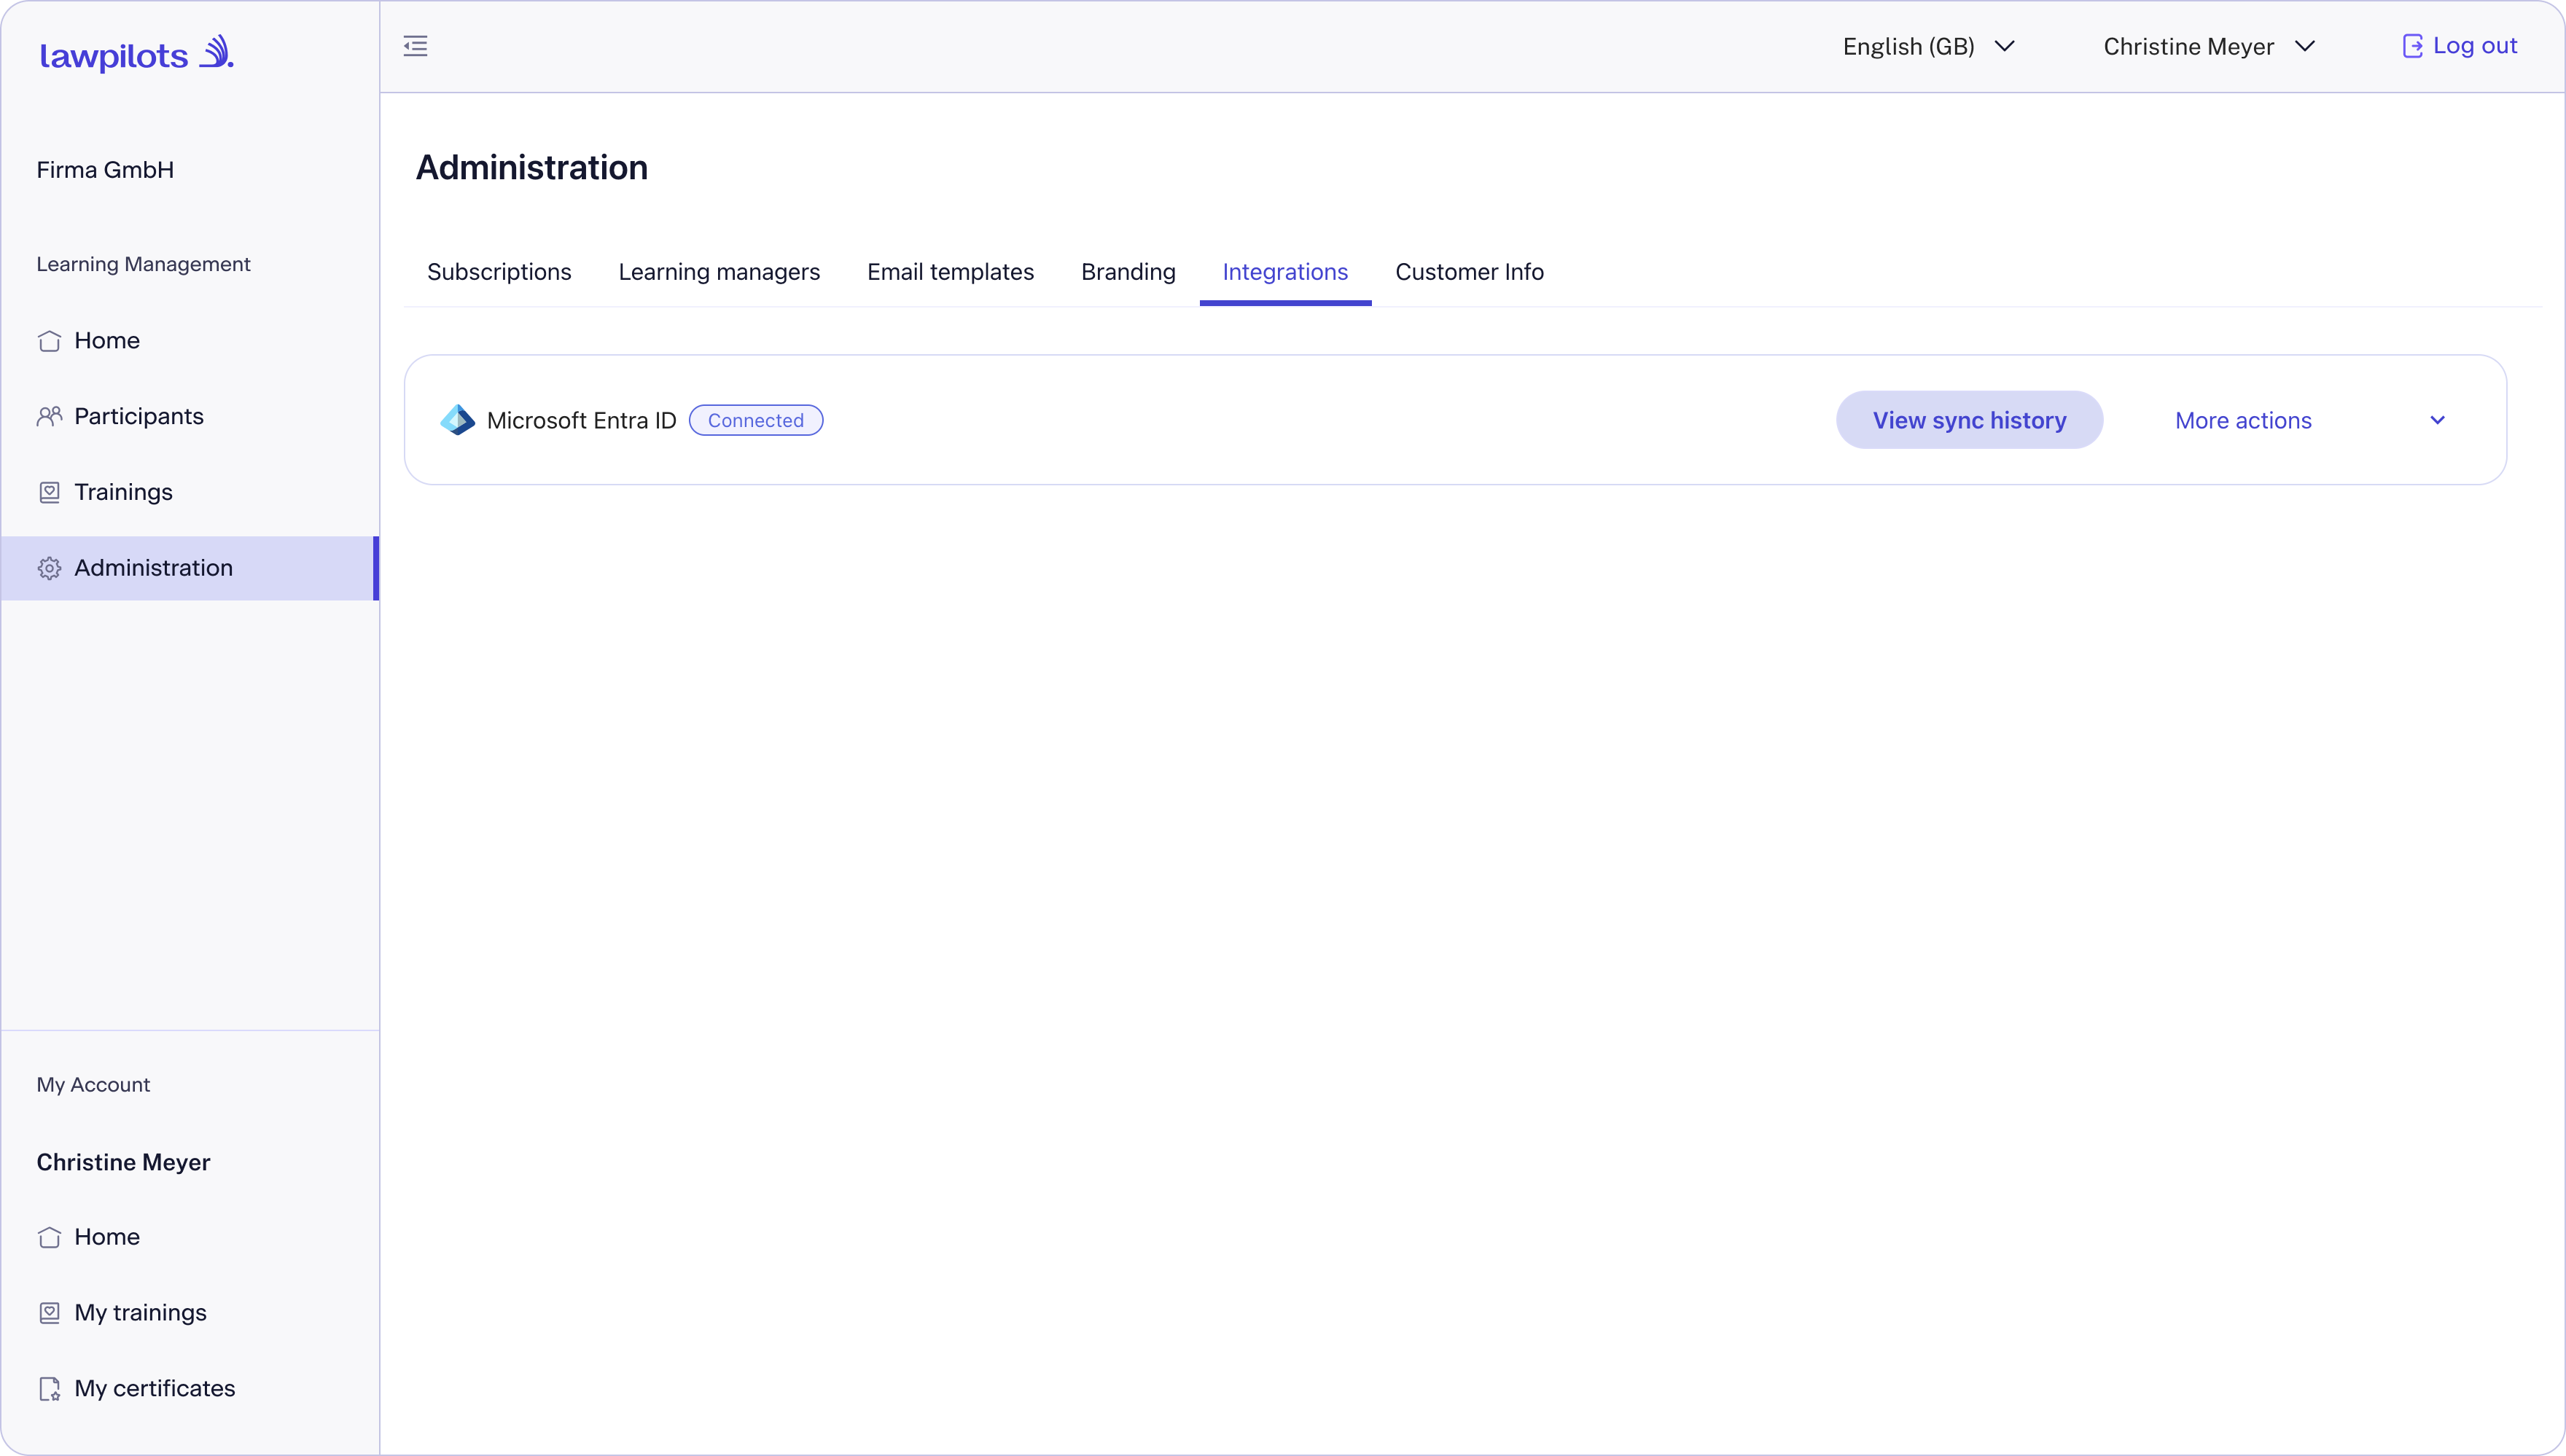
Log in to LMS+ and navigate to:
Administration → Integrations → Microsoft Entra ID
Click "Connect your Microsoft Entra ID" under Integrations.
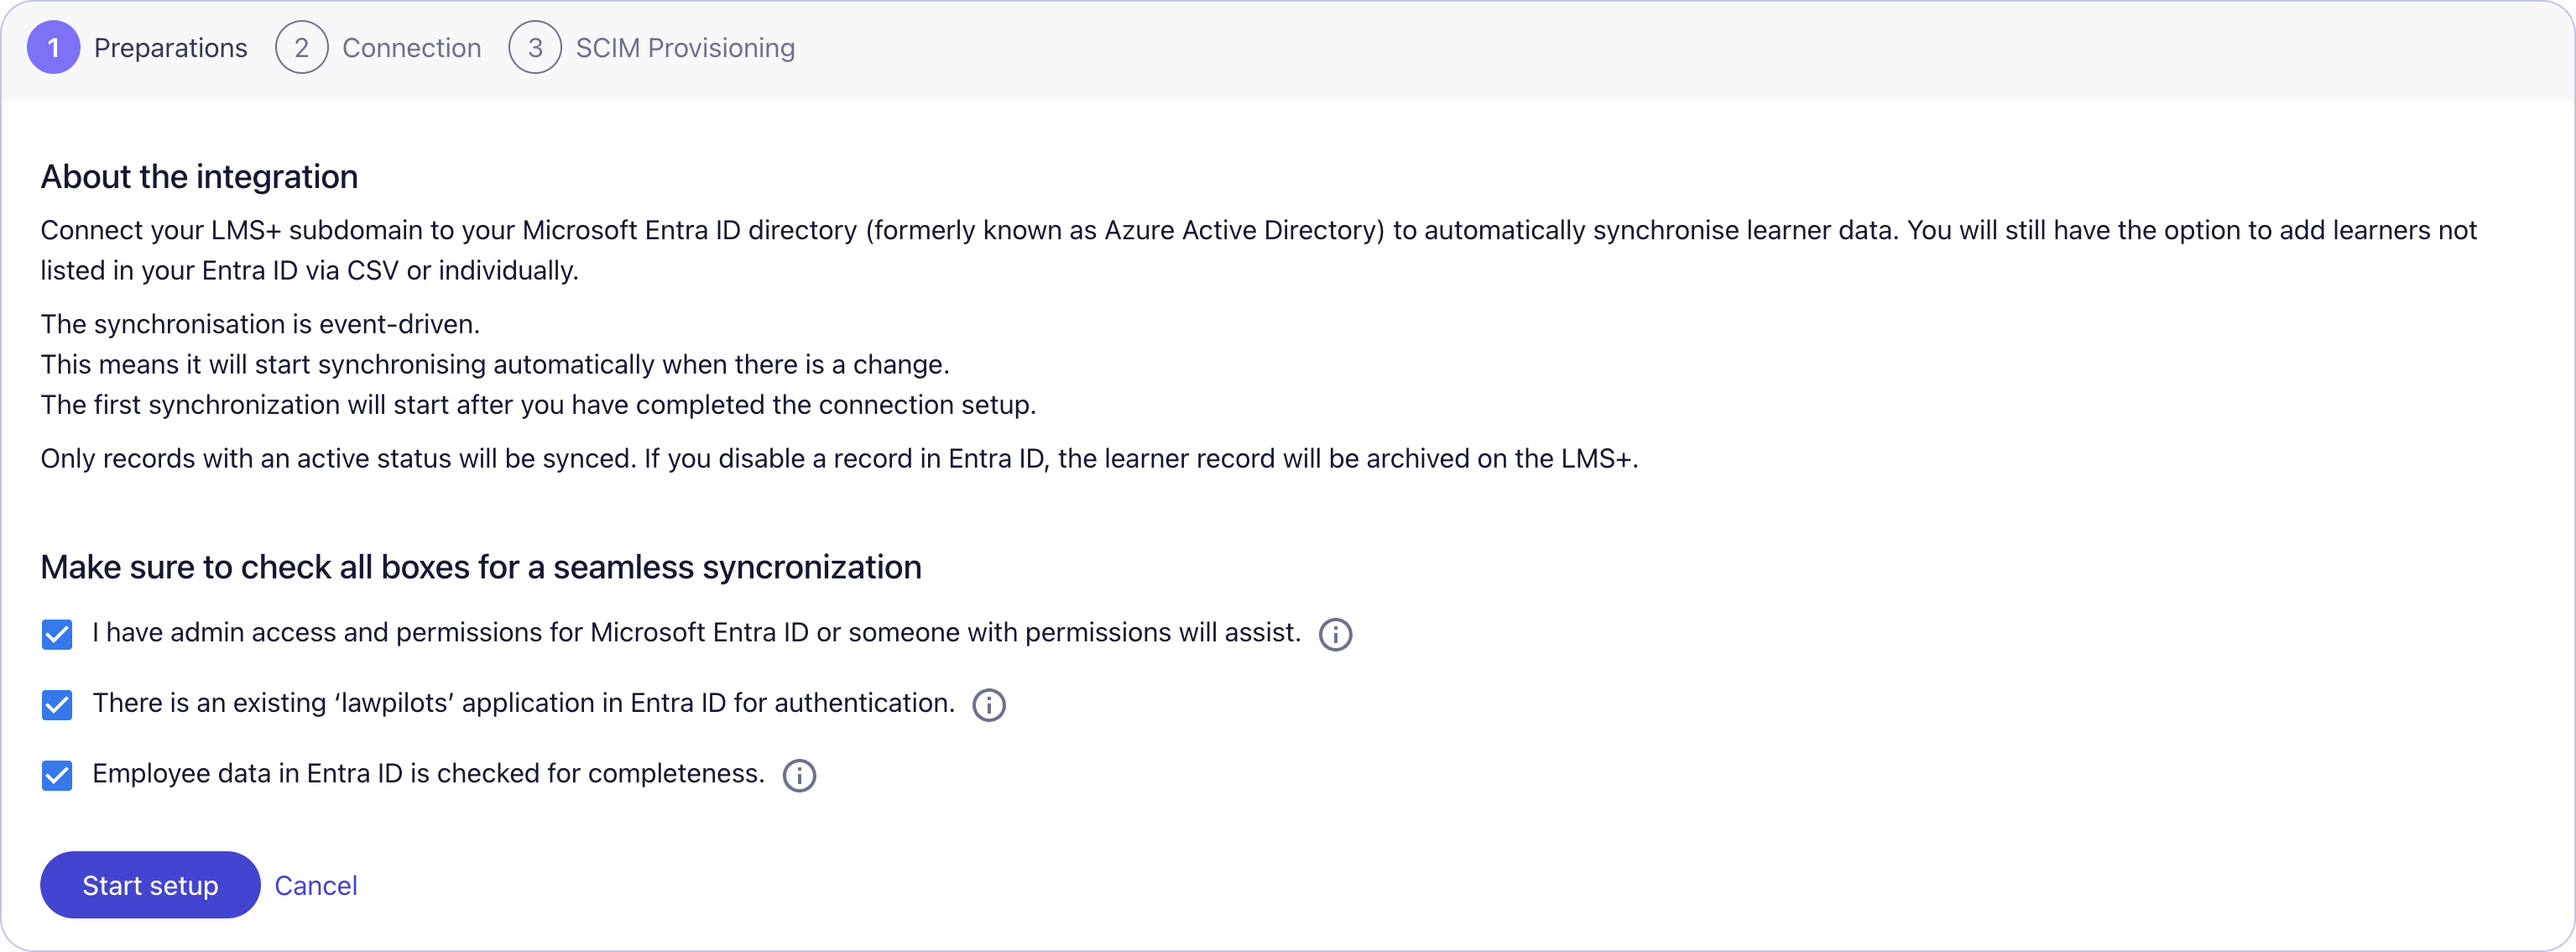
Preparations to Connect Entra ID:
Read and confirm setup instructions:
- I have admin access and permissions for Microsoft Entra ID or someone with permissions will assist.
- There is an existing ‘lawpilots’ application for authentication in Entra ID.
- Employee data in Entra ID is checked for completeness.
Select ‘Start Setup’ once all of the above steps are confirmed.
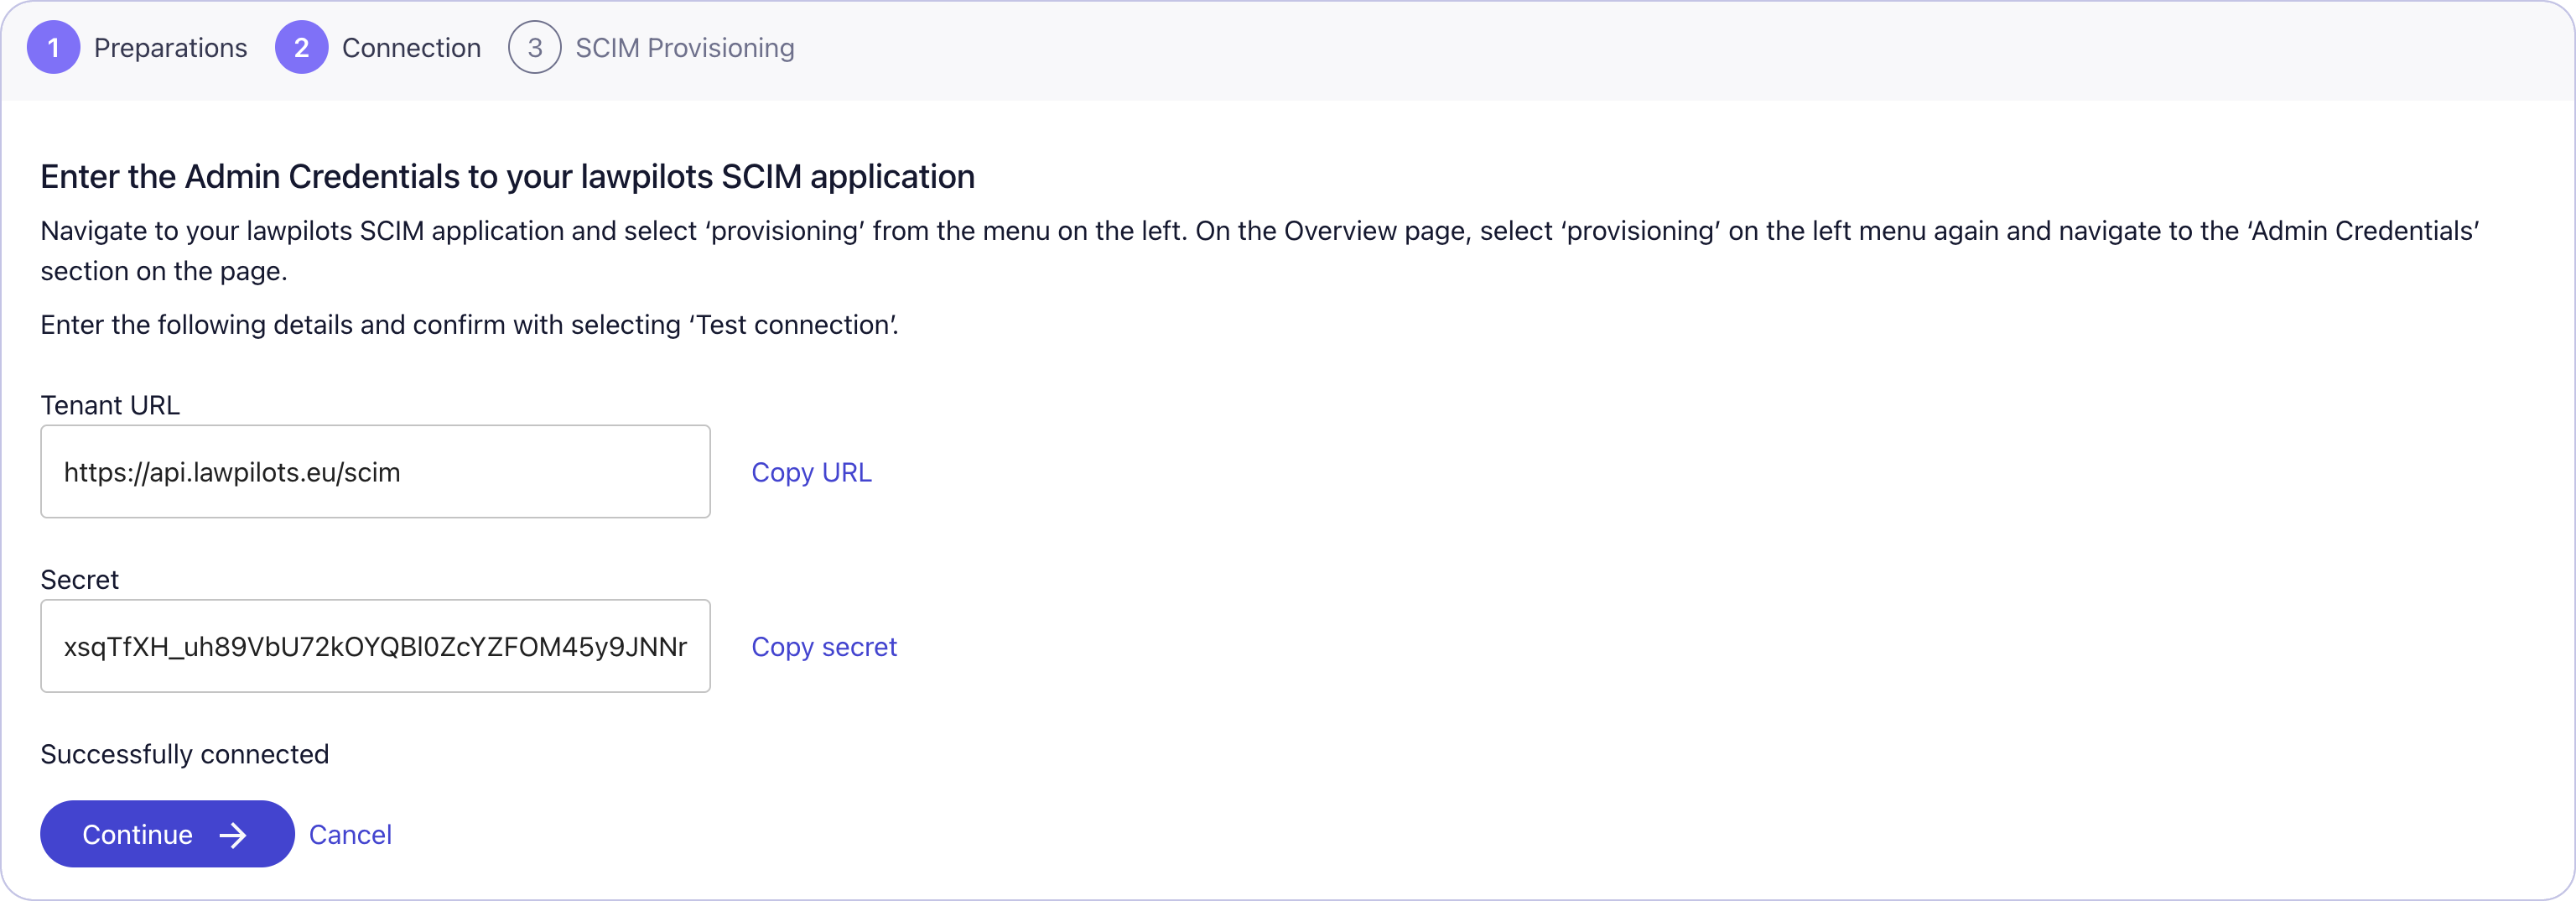
3. Connecting LMS+ with Entra ID
You are now on the ‘Connection’ step of the Setup process.
The Tenant URL and Secret should be used in your application setup in Entra ID.
If you have not done this yet navigate to Microsoft Entra admin center.
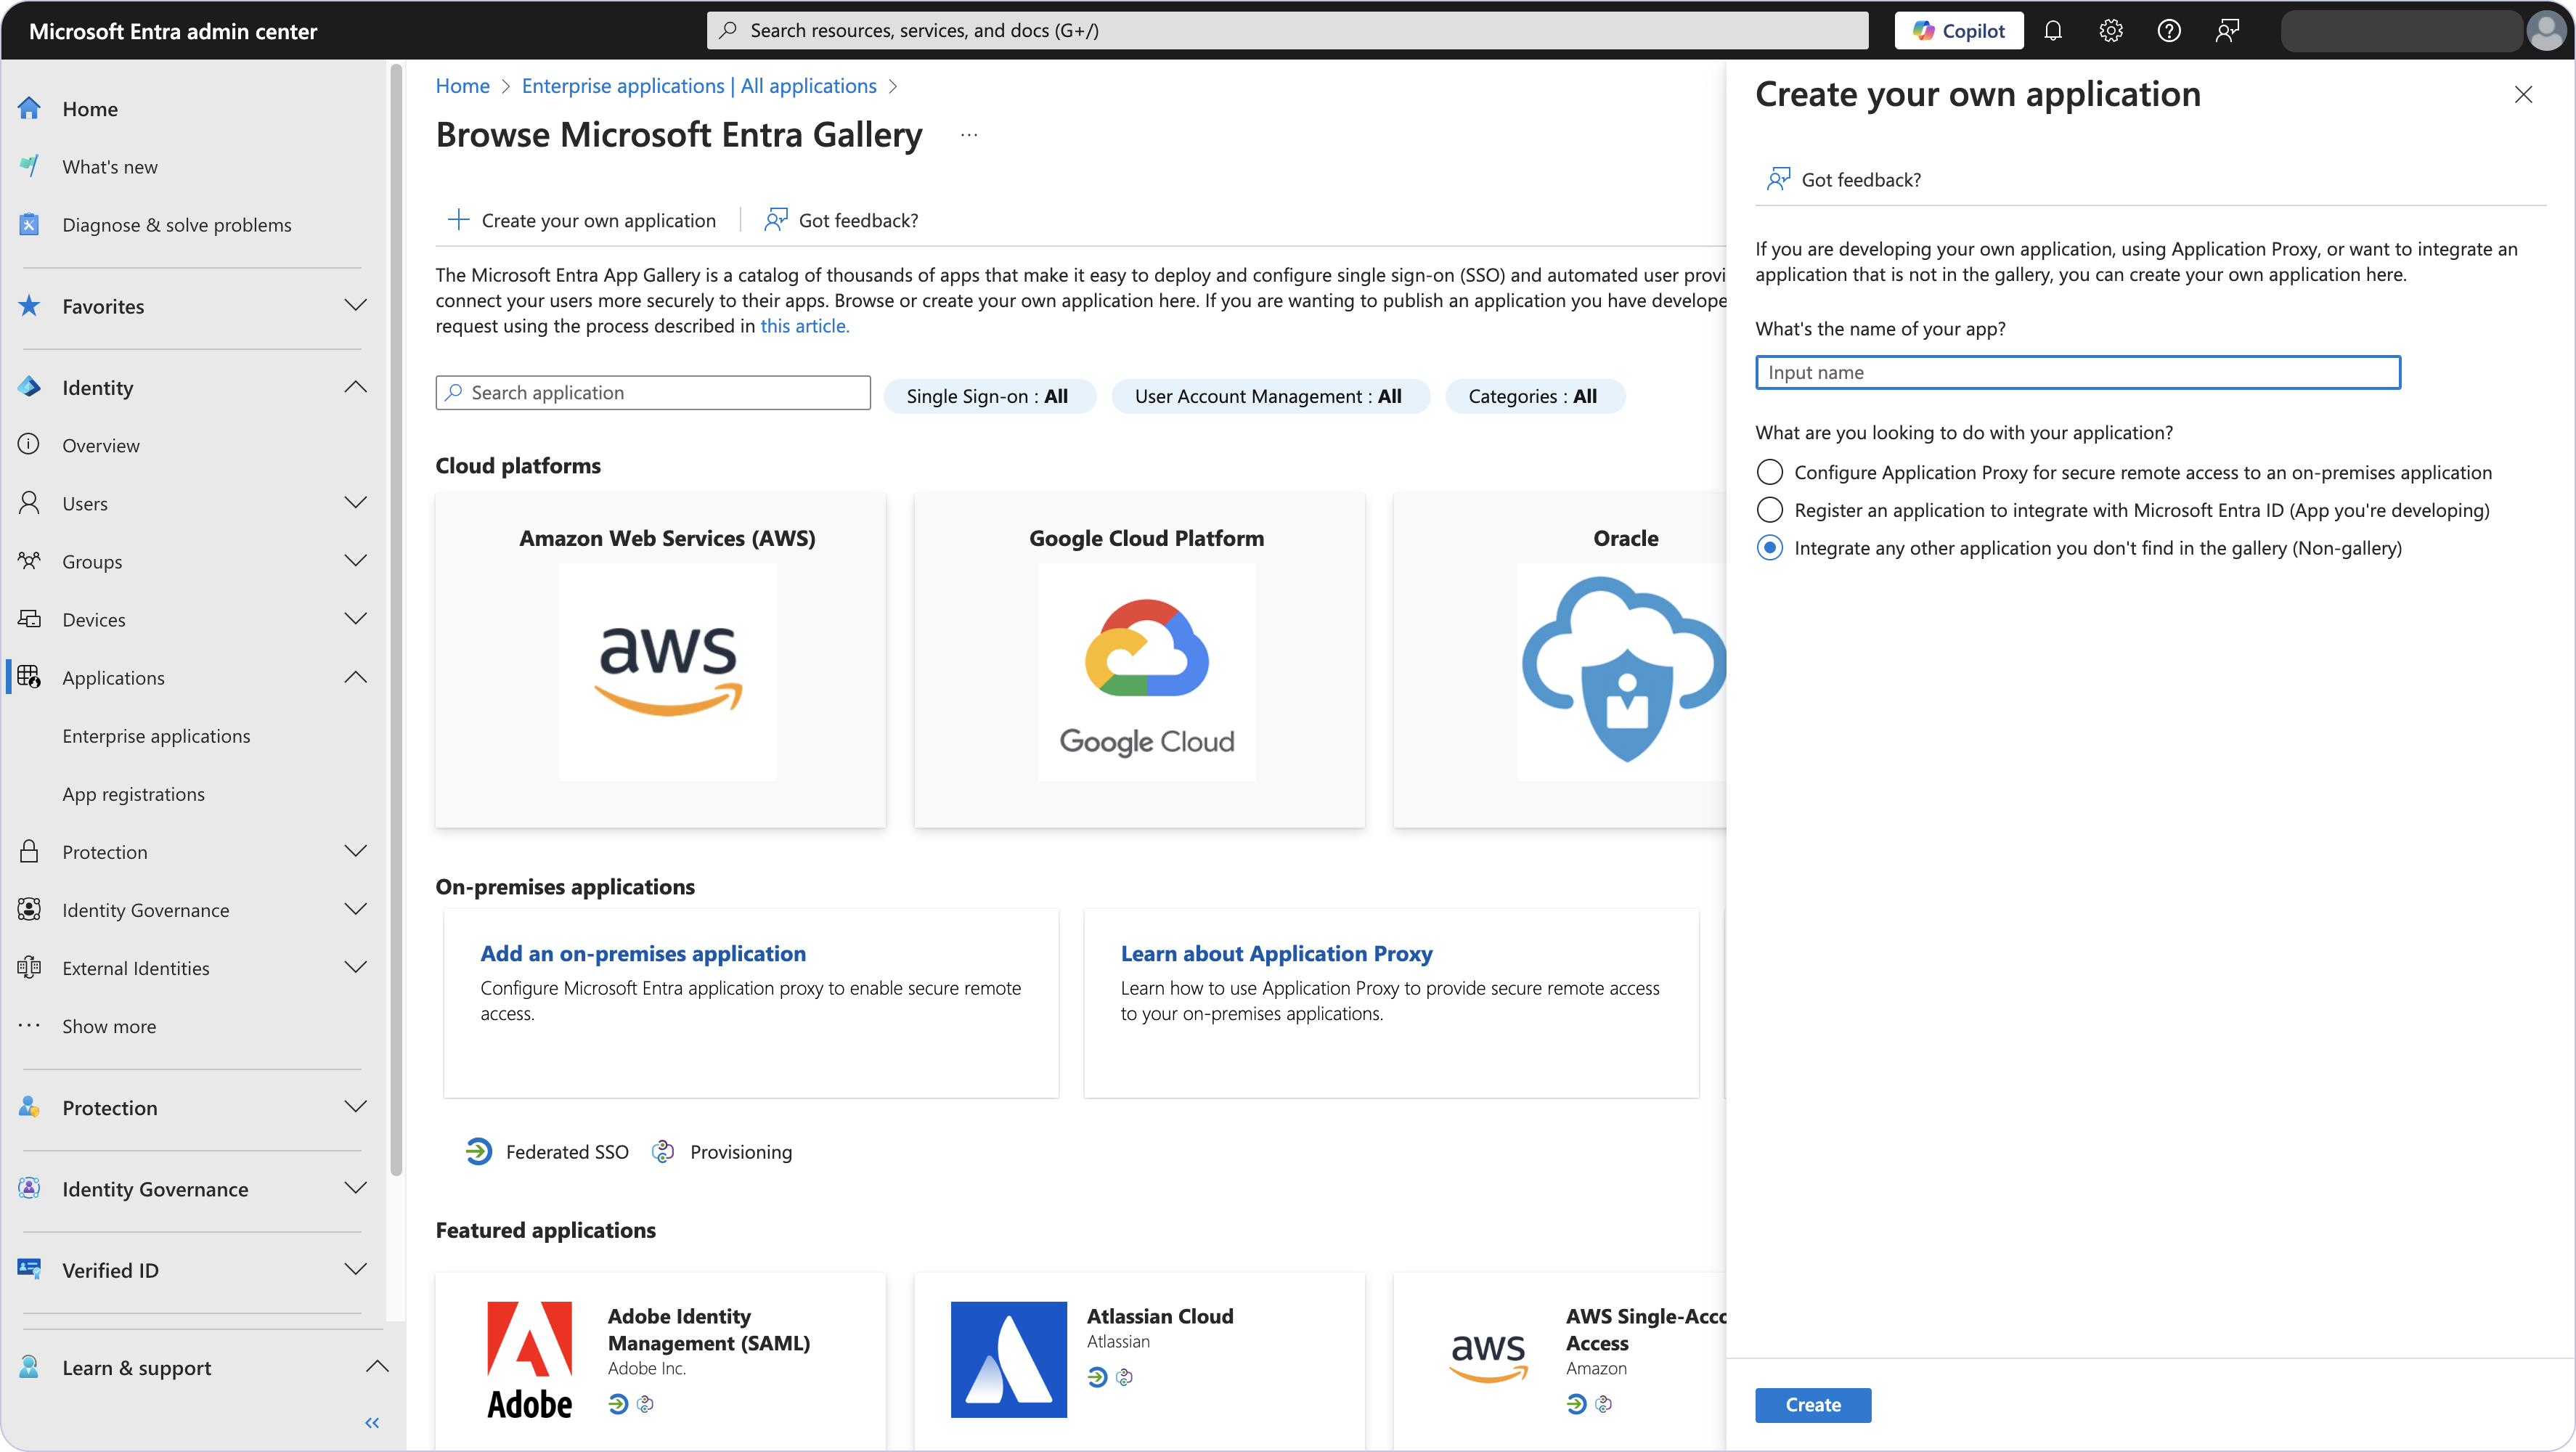
In Entra ID:
Go to 'Enterprise Applications'.
Microsoft Entra admin center
Select 'New application', then click 'Create your own application' to create a new enterprise application specifically for synchronization.
Give your application a name and select ‘Integrate any other application you don’t find in the gallery (Non-gallery)'.
Guidelines of Microsoft: What is automated app user provisioning in Microsoft Entra ID - Microsoft Entra ID
You will see an overview of the application you created.
Next, navigate to Enterprise Applications → [Your Application] → Provisioning.
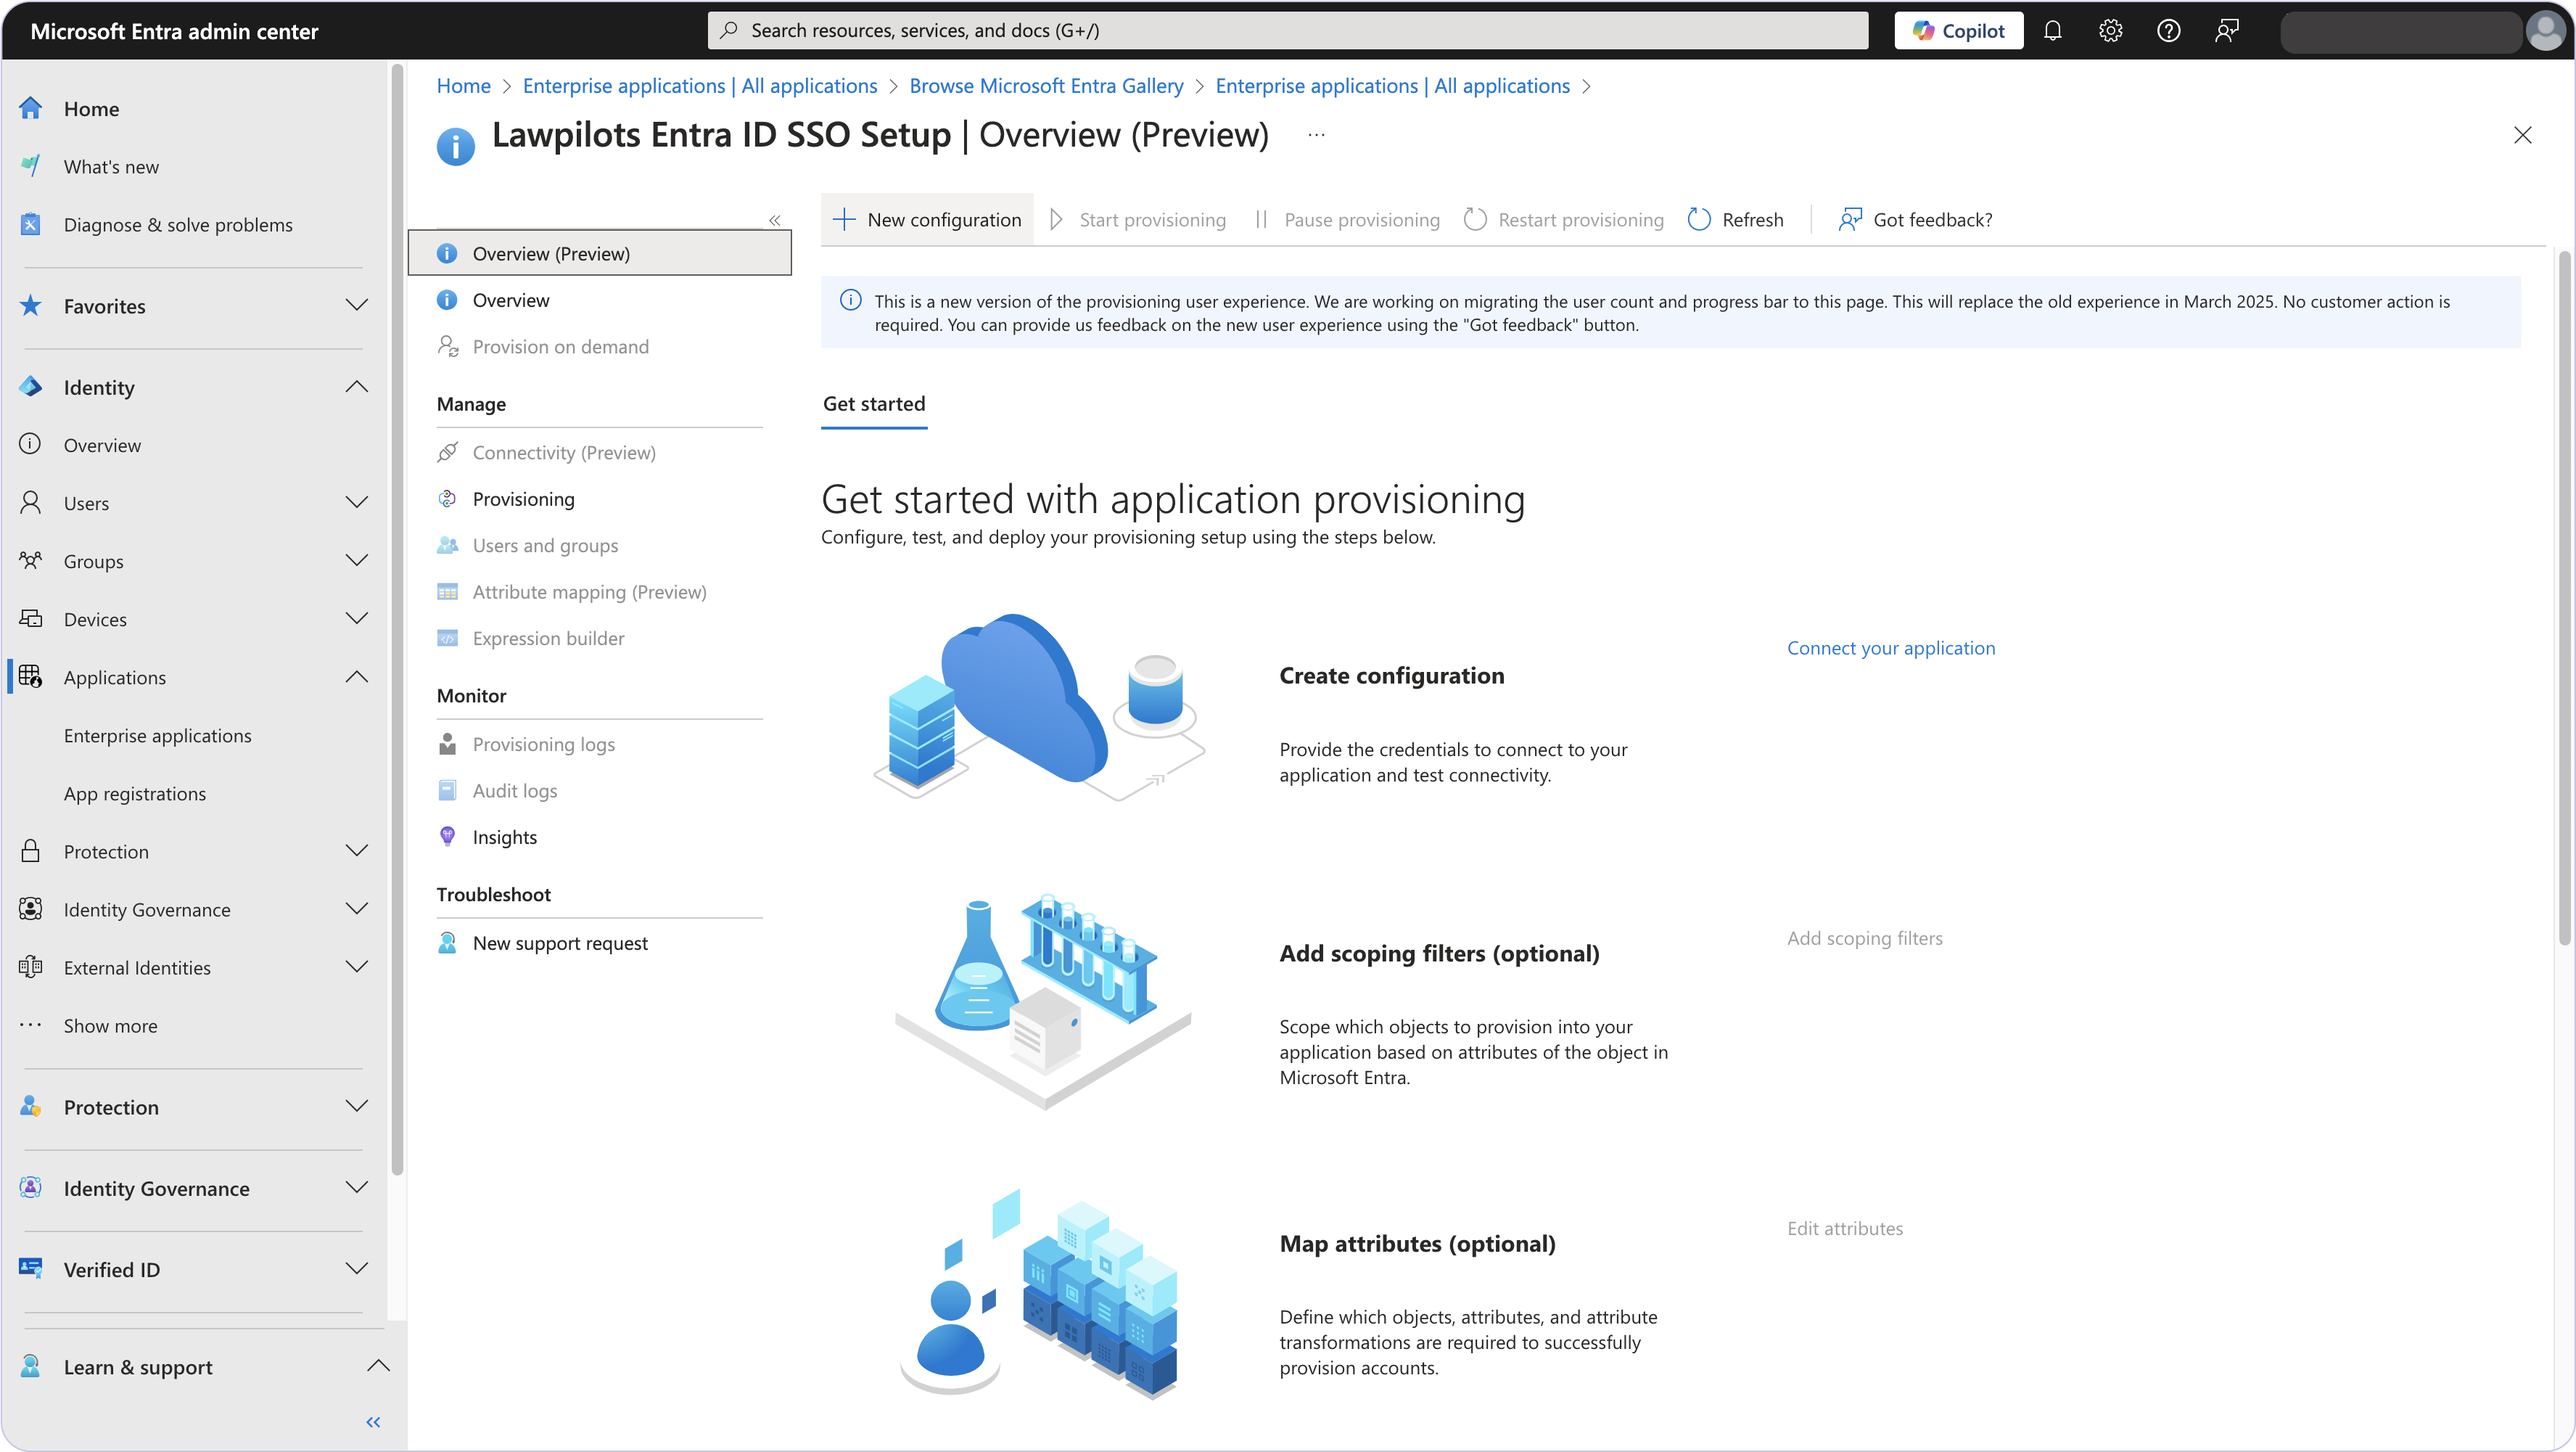
Under the ‘Provisioning’ page select ‘Overview Preview’.
Select ‘New Configuration’ at the top of the page.
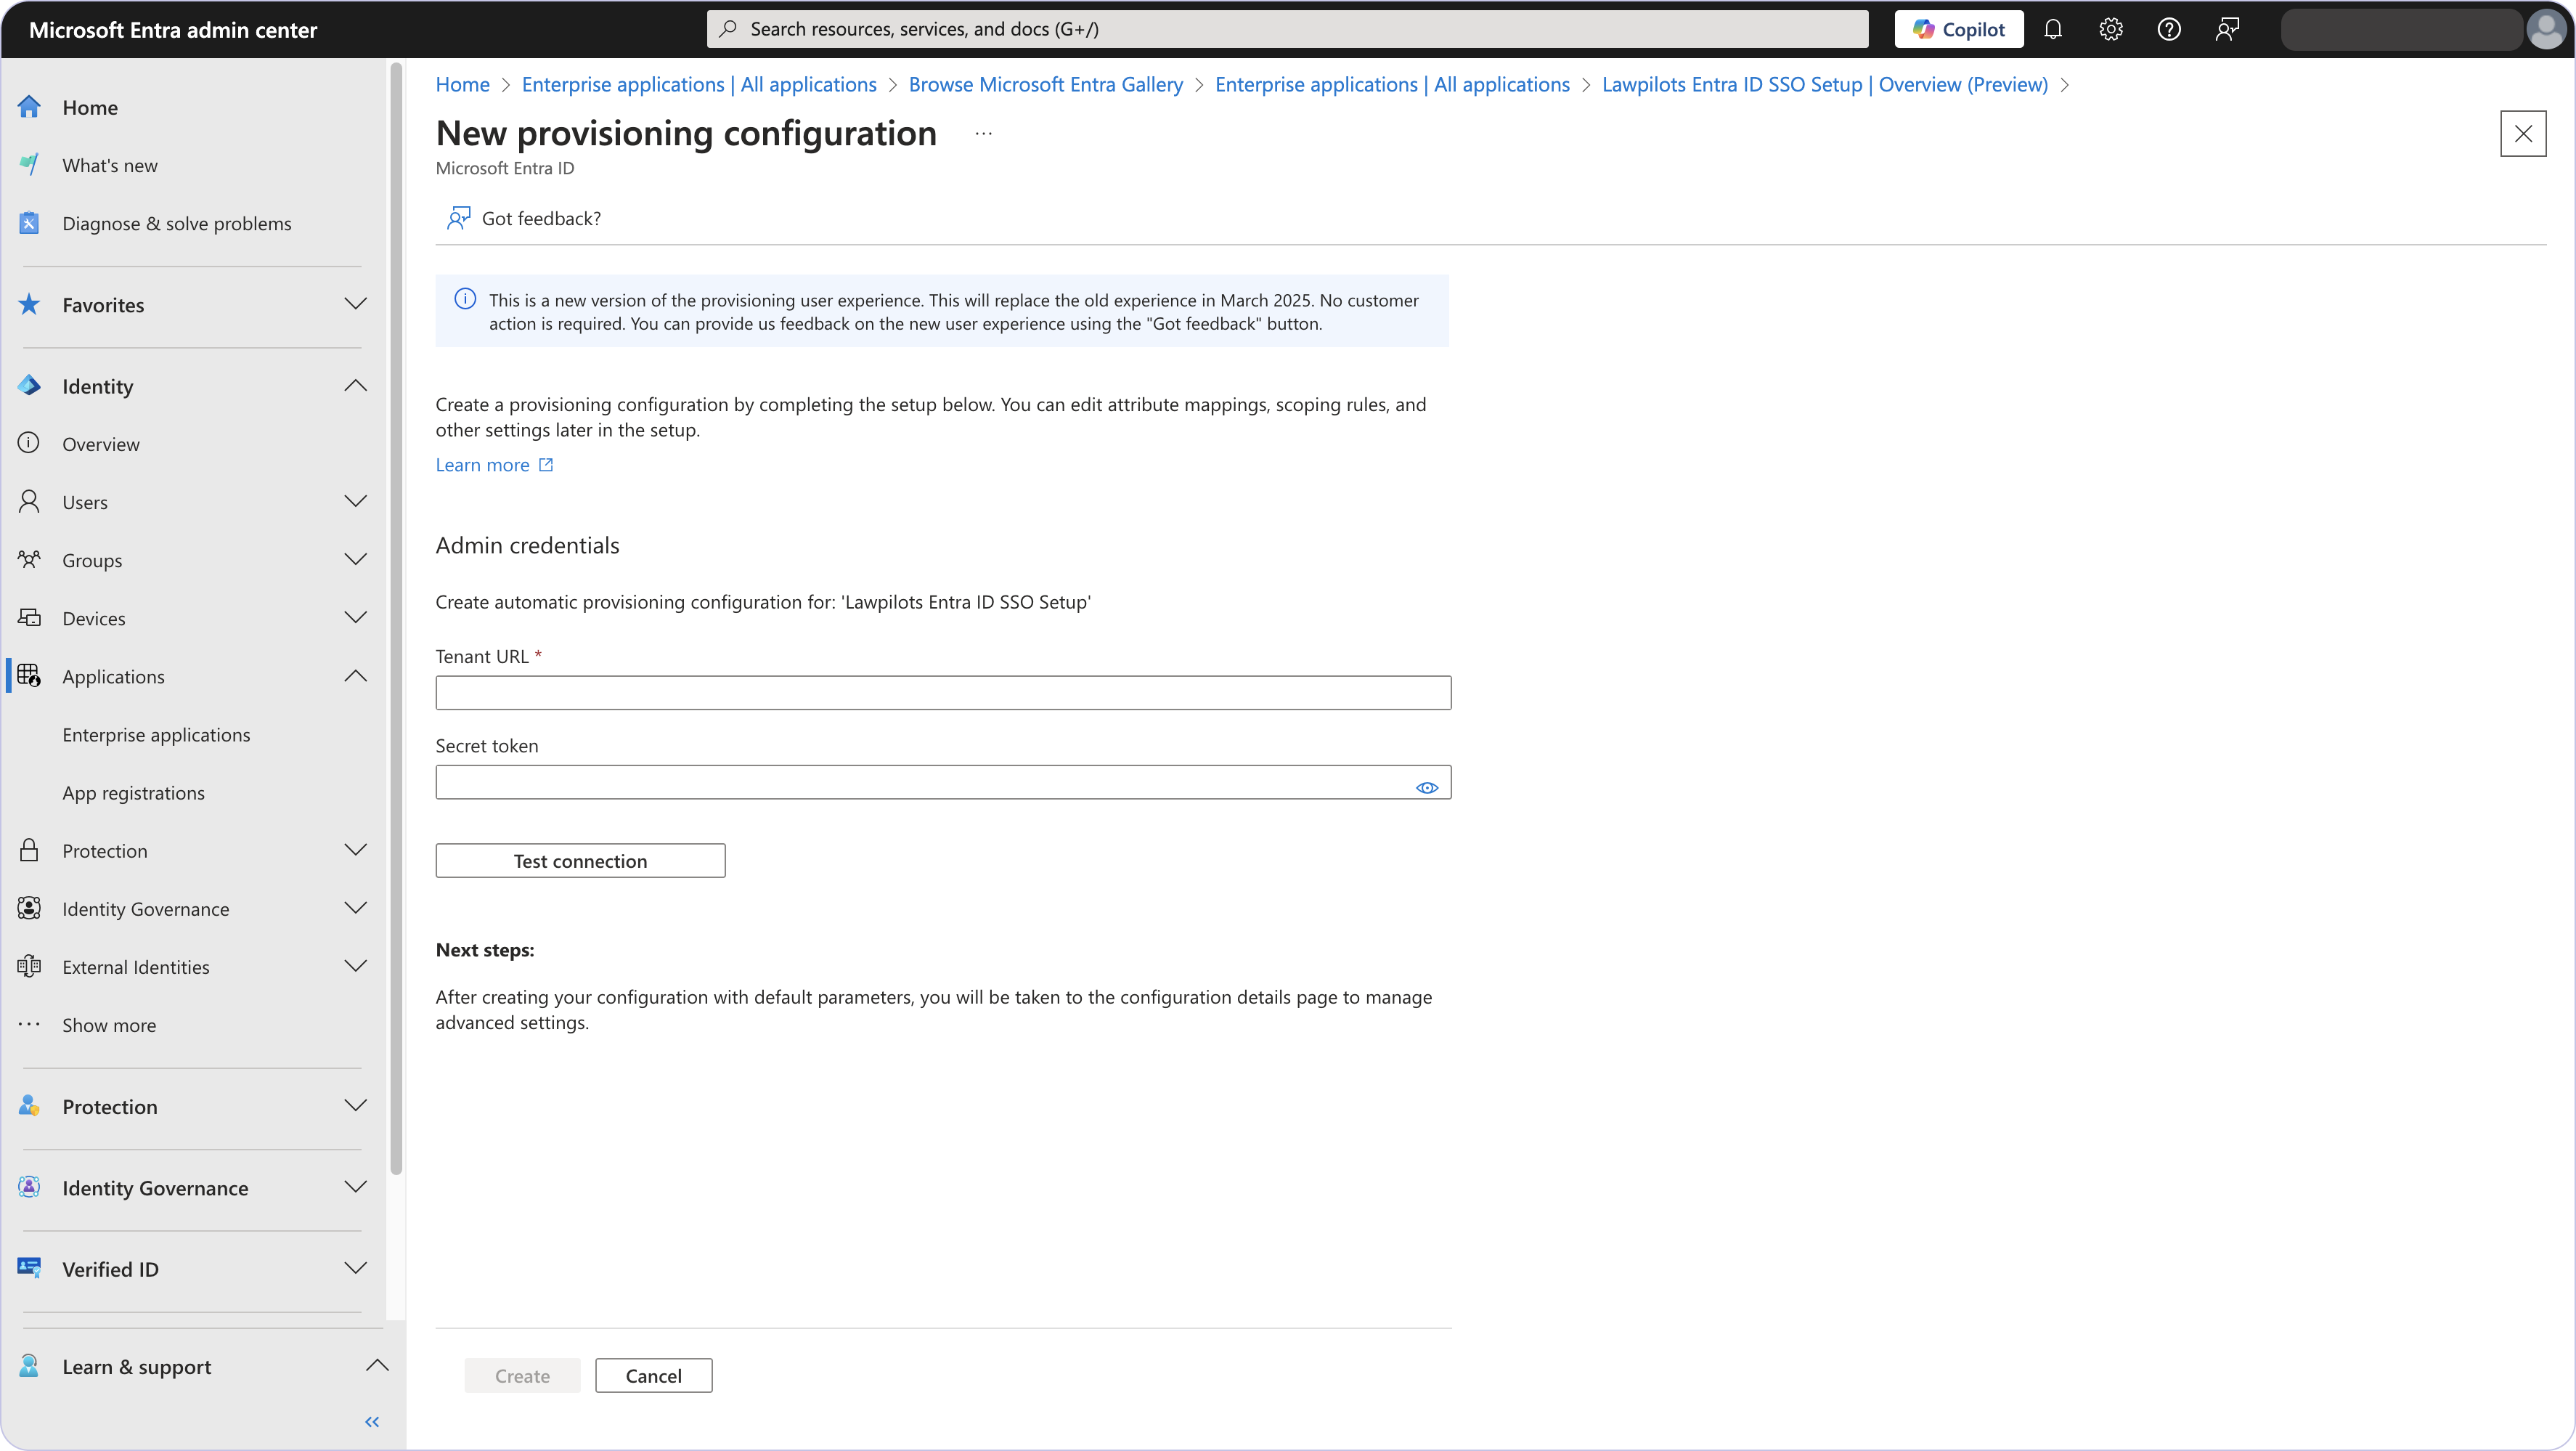
On the ‘New Provisioning Configuration’ page in Entra ID:
Paste the ‘tenant URL’ and the ‘secret’ from the LMS+ into the matching fields.
Then click "Test Connection" to confirm successful communication.
Once verified, confirm the connection.
You will see a success message about the successful connection.
Congratulations your Microsoft Entra ID Integration to LMS+ has been setup!
Once the connection is successful any user you see under the ‘Users and Groups’ will also be added to the LMS+.
Next you will be landing on the Overview(Preview) page of your new provisioning.
Select ‘Provision on demand’ on the menu.
4. Adding Users
Within the Entra ID Application:
Navigate to Users and Groups. To select and add users manually click "Add User/Group", select users, and assign them to the application.
5. Synchronizing Users
Provisioning single users:
In the Entra ID application, select Provisioning from the menu. Then, select 'Provisioning on demand'.
Search for and select the users you want to synchronize.
Click Provision to start syncing users to LMS+.
You will see a report of the action whether it was ‘successful’ or not and all the details regarding the attributes.
If you navigate to the LMS+ at this point you will see that your integration with Entra ID has been setup successfully.
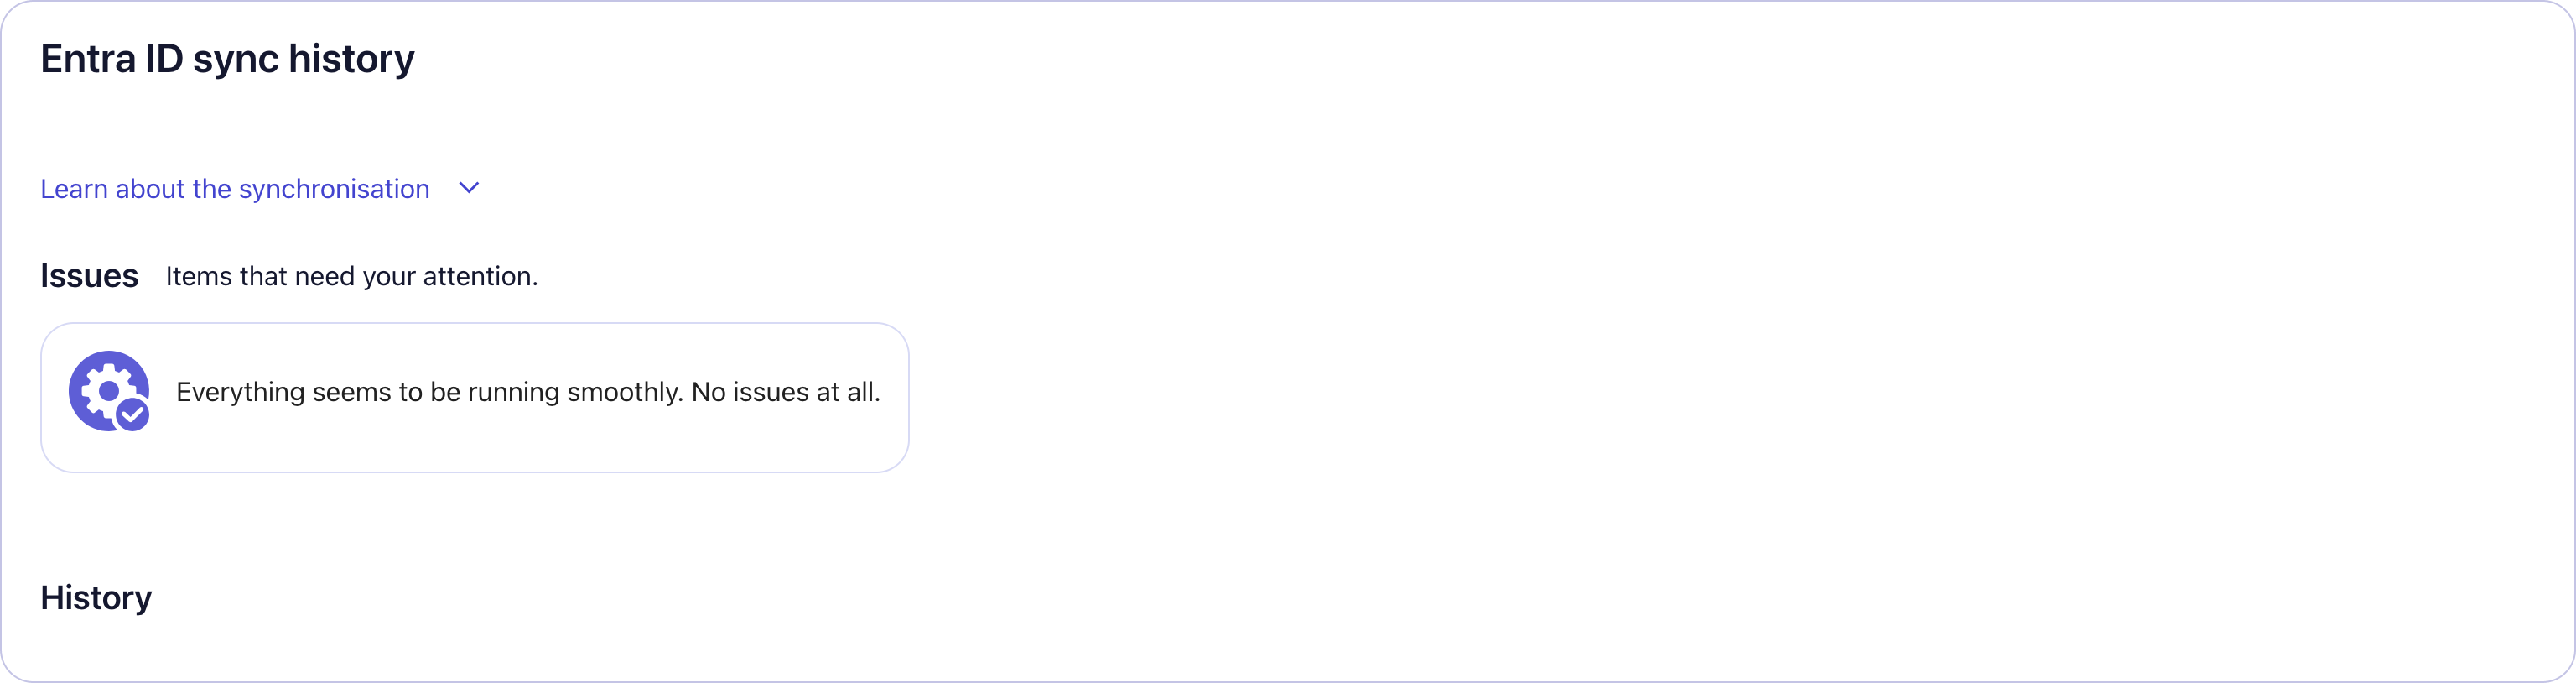
6. Entra ID synch history on LMS+
Under the Entra ID synch history on LMS+ you will see all the updates and the issues that needs your attention.
7. Adding Groups
The group and its functionality will not exist and sync in LMS+ because we don’t have this type of structure.
8. Validation and Troubleshooting
Provisioning Report: Verify successful synchronization through the provisioning report.
Confirm the following are successful:
- User Import
- User Matching
- User Creation in LMS+
- Resolve conflicts